









Universal guide to pruning fruit trees (Part 1): Cleaning and thinning | Blog
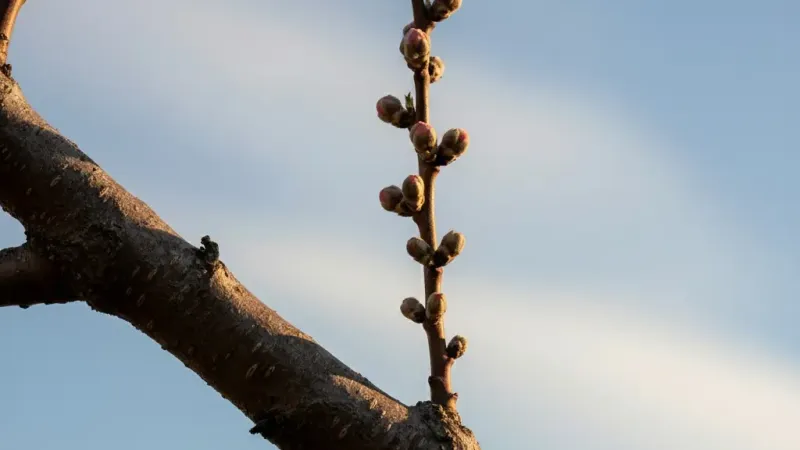
A Universal Guide to Pruning Fruit Trees – Part 1: Basic Cleaning and Thinning
There are countless guides on how to prune trees, and many claim that their method is the only correct one. This universal approach, however, is reduced to the absolute basics that apply to most fruit trees grafted onto medium-vigor rootstocks. It's a strategy, not a dogma.
"The goal of pruning is not to punish the tree, but to help it. Imagine you are a sculptor, and your task is to create an airy and healthy work of art."
This guide will walk you through the first and most important phase – maintenance and thinning pruning. Let's get started, step by step.
Before You Begin: Preparing for the Mission
When to Prune?
- Main Pruning (February/March): For shaping, rejuvenation, and thinning. This is the most important pruning of the year.
- Summer Pinching (May/June): Shortening new shoots to encourage fruiting.
- Summer Pruning (after harvest): Gentle thinning and removal of fruited wood.
What Tools Do You Need?
- Pruning Shears: For thinner branches (up to 2-3 cm thick).
- Loppers (two-handed): For thicker branches (up to 4-5 cm thick).
- Pruning Saw: For the thickest branches.
Expert Tip: Sharp and Clean Tools are Essential
All tools must be sharp for clean cuts and clean. Before pruning each new tree, wipe them with a cloth soaked in alcohol. This prevents the spread of diseases.
The Pruning Manual: 4 Simple Steps to a Healthy Canopy
Standing in front of a tree and don't know where to start? Follow this exact order.
Step 1: Get Rid of Everything Dead, Diseased, and Damaged
This is the easiest step. Without thinking, remove anything that is obviously wrong.
- Dead branches: They are dry, brittle, and lifeless.
- Diseased branches: They have cankers, fungi, or are shriveled.
- Broken branches: Remove them back to healthy wood.
How to cut? Always cut back to healthy wood. If an entire branch is bad, remove it completely at the trunk or at the branch collar.
Step 2: Get Rid of "Watersprouts" and Suckers
These shoots steal energy from the tree and do not bear fruit.
- Watersprouts: These are long, straight shoots that grow vertically from thick branches.
- Suckers: These are shoots that grow from the base of the trunk or directly from the roots.
- Trunk Shoots: Short shoots growing directly from the trunk below the main canopy.
How to cut? Remove them completely, flush with the point where they originate.
Step 3: Get Rid of Everything That Crosses or Grows Inward
The goal is to open up the canopy for sun and air.
- Crossing branches: If two branches grow across each other and rub, remove one (usually the weaker one).
- Inward-growing branches: Anything heading towards the center of the tree must go.
- Steeply angled or drooping branches: Remove them. Ideal branches grow at a slight upward angle.
Step 4: Get Rid of Excess Branches
Step back from the tree and look at it from a distance. Is the canopy still too dense?
- If two branches are growing close together in the same direction, remove the weaker one.
- The Golden Rule: A bird should be able to fly through the canopy without getting tangled. If it's too dense for that, it needs more thinning.
What Have You Achieved? Summary of Part 1
The Process in a Nutshell
- Sanitary Pruning: You removed dead, diseased, and damaged parts (Step 1).
- Removing "Parasites": You cut out watersprouts and suckers that steal energy (Step 2).
- Thinning Cuts: You opened up the canopy by removing crossing and inward-growing branches (Step 3 & 4).
- The Result: An airy and healthy canopy, ready for the next phase of pruning.
After completing these four steps, you have performed the most important part of the pruning. The tree is free of everything that harms it. What remains on your tree are the main scaffold branches, side branches, terminal shoots, and small fruiting wood. You have created the conditions for better fruit ripening and reduced the risk of fungal diseases.
Conclusion and a Look Ahead
This basic pruning alone will significantly improve the health of the tree and the quality of the harvest. In the next part, we will look at how to work with what is left on the tree—how to shorten one-year-old shoots and how to encourage the formation of new fruiting wood to ensure a bountiful harvest in the years to come.
What is your biggest challenge when pruning fruit trees? Share your experiences in the comments!